How it works · Product walkthrough
Watch the setup.
Follow each move.
Install once, save a true level reference, then let the App guide each campsite adjustment.
The complete routine · 06 steps
One first-time setup.
One repeatable arrival routine.
The order below follows the current ROADROAM installation and App operation guide.
01 · Installation
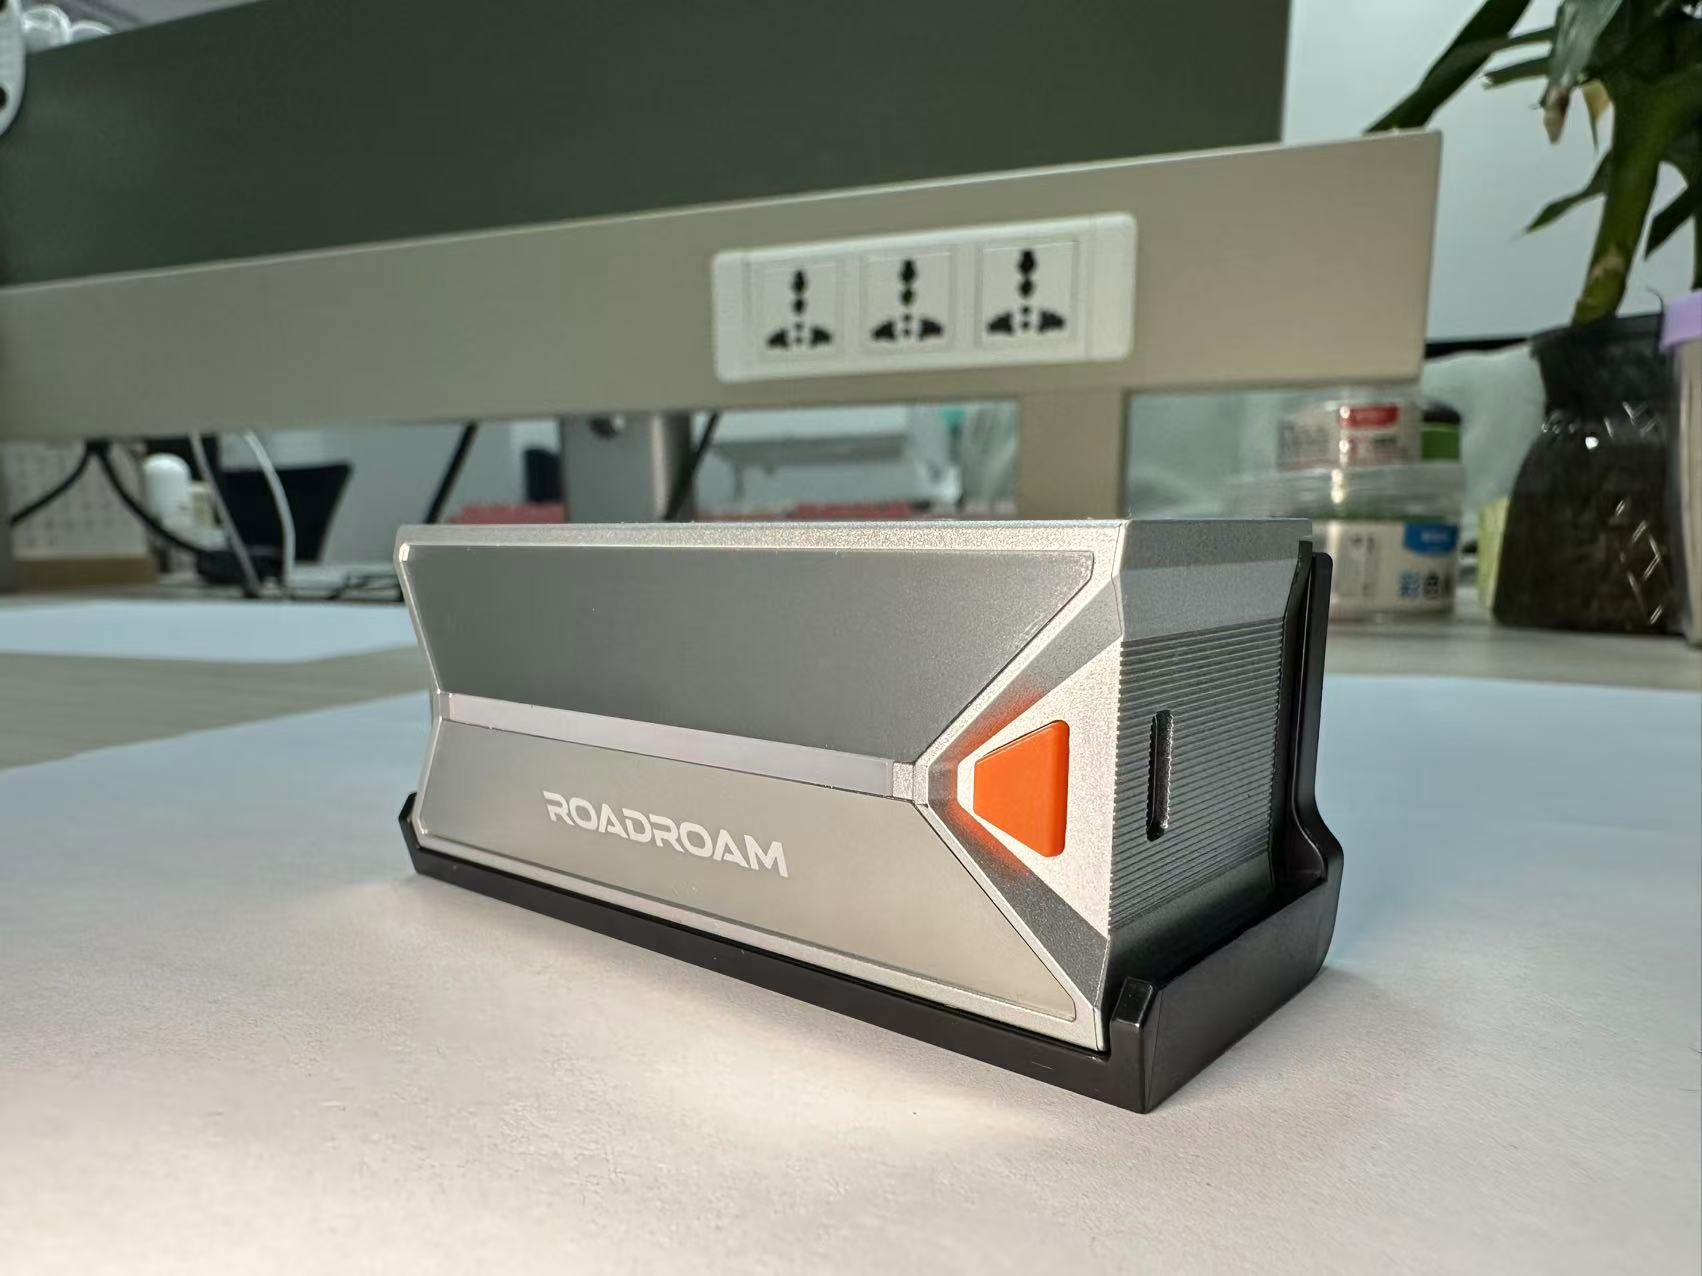
Install the level inside the RV.
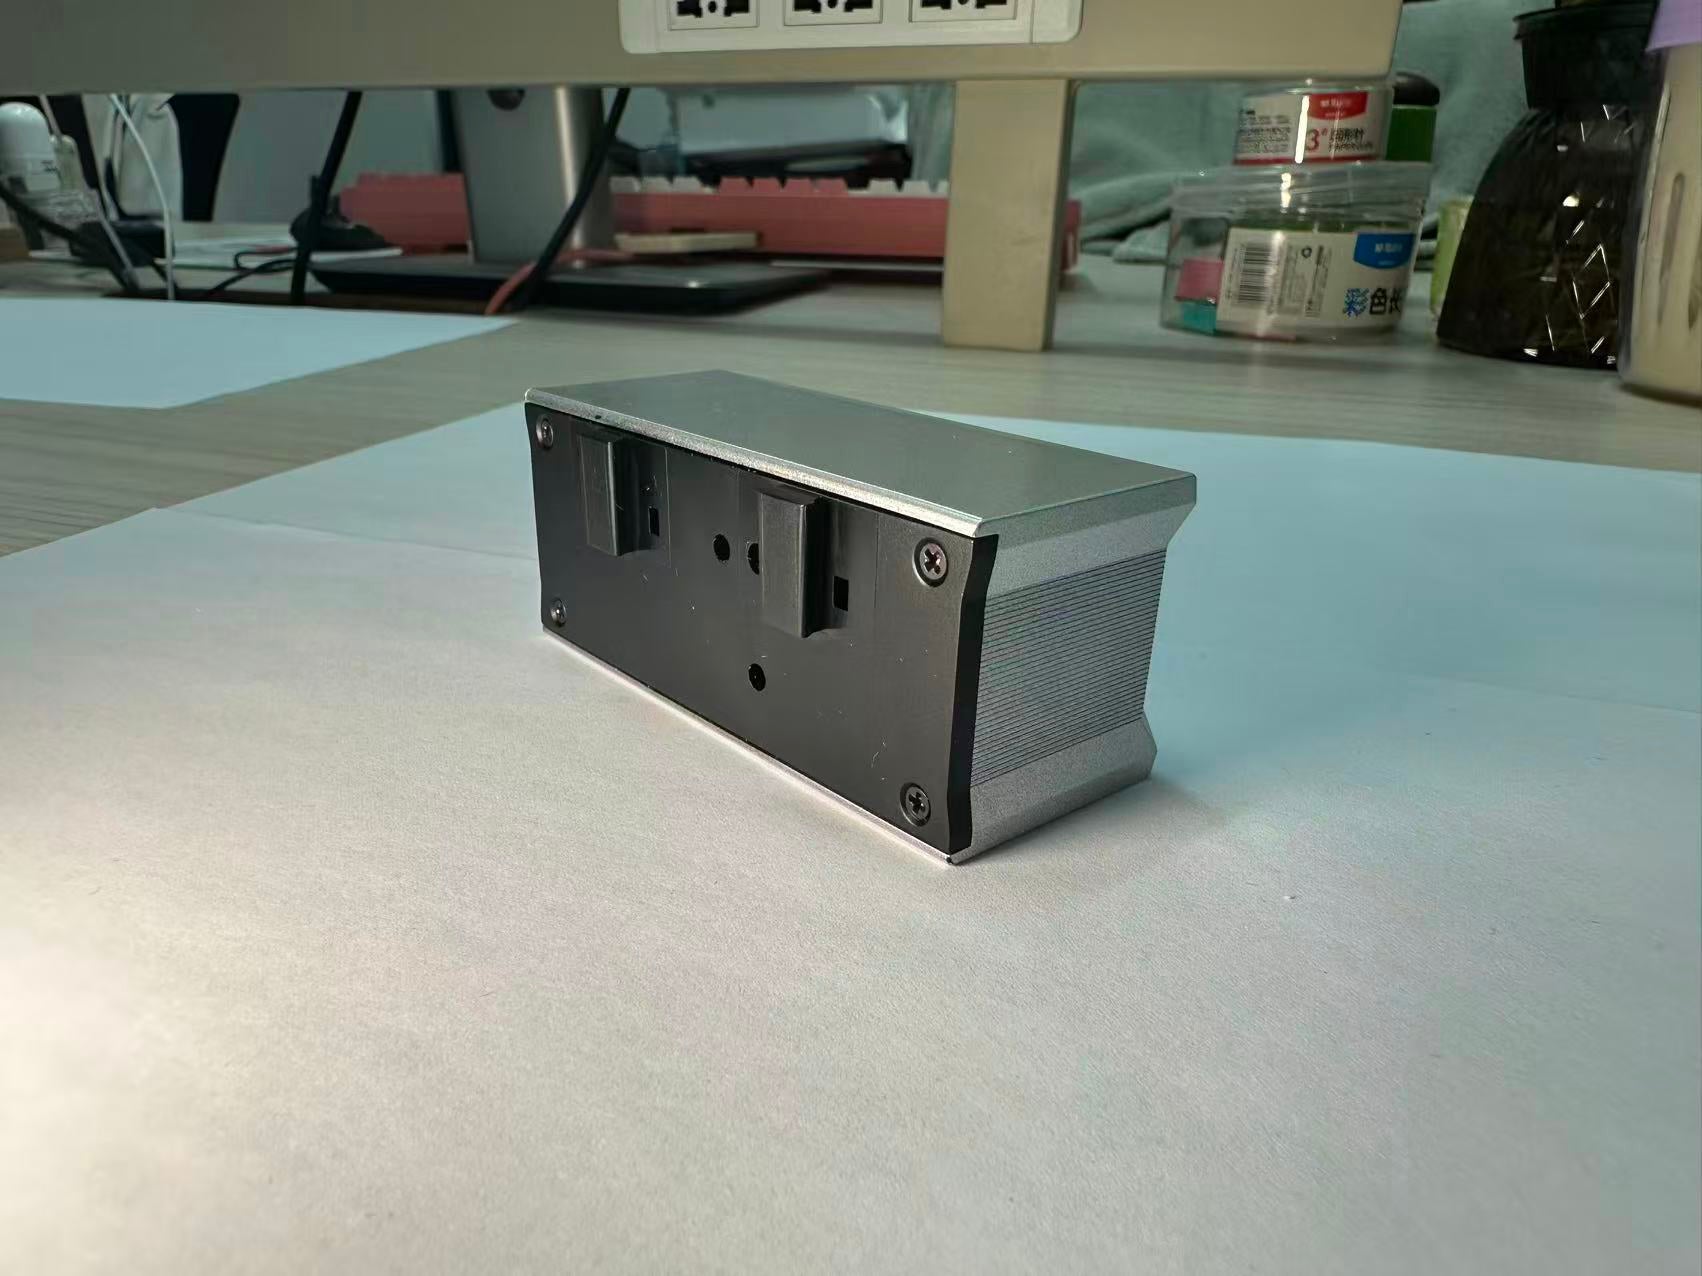
Bring the RV to physical level. Secure the bracket on a rigid interior wall in the marked orientation, then seat the main unit.
- Verify level with a physical bubble level.
- Avoid doors, vibration and repeated impact.
- Confirm the bracket remains level after tightening.

02 · App download & connection
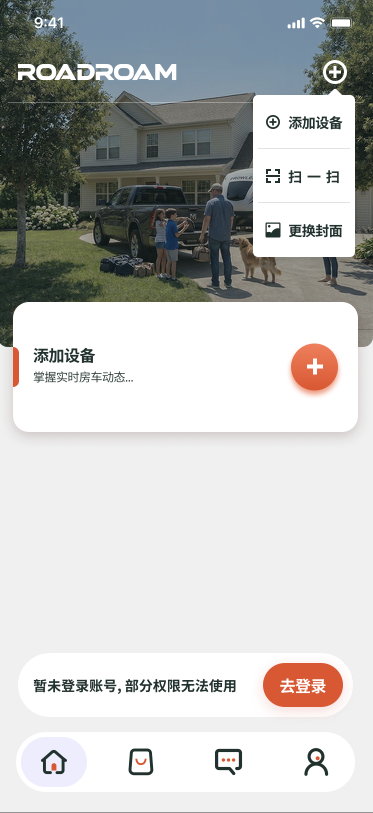
Open the App. Add the device.
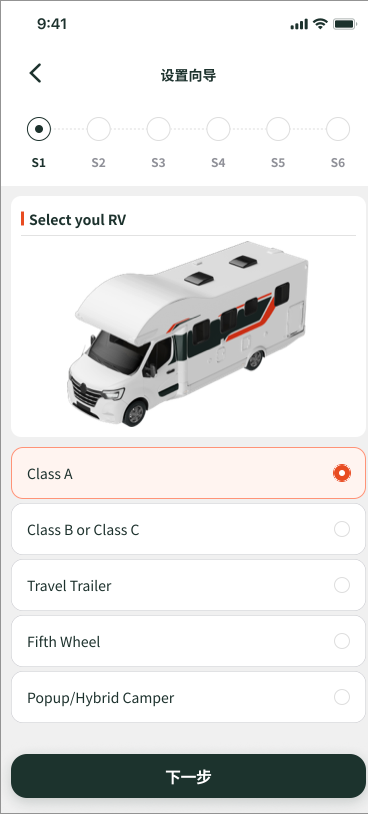
Download the ROADROAM App, sign in, and enable Bluetooth. Select the detected level and your RV type to begin setup.
The device LED stays green for about five seconds after a successful connection.
03 · Device calibration
Save what true level looks like.
With the RV physically level, enter the dimensions and installation direction, then tap “Set Level” to save the reference.
- Vehicle
- RV type, driver side and units
- Dimensions
- Axle and body measurements
- Sensor
- Orientation, precision and sleep time
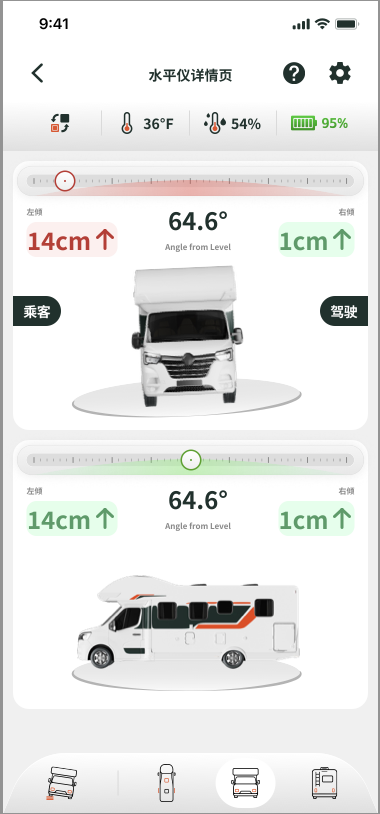
Read the lean.
Make the shown move.
The App turns the saved reference into a clear direction, distance and recommended block count.

05 · Blocks under the tire
Build the stack on the low side.
Place the recommended blocks ahead of or behind the low-side tire. Drive slowly until the tire is centered.
Use wheel chocks and the leveling equipment approved by the RV maker. Keep everyone clear while the RV moves.
06 · Driver’s-seat confirmation
See “level” from the driver’s seat.
Keep the live App view visible from the driver’s seat. Stop at level, then chock and stabilize as directed.
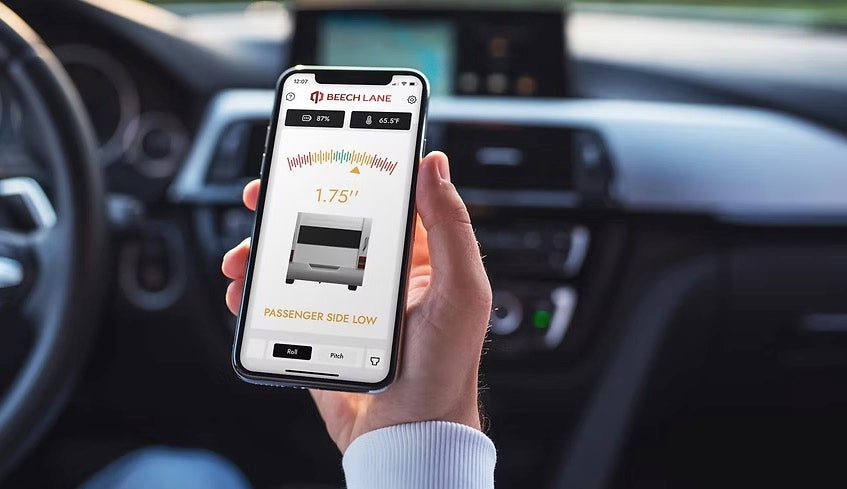 Level
LevelThe field rule
Level first. Stabilize after.
Follow the RV maker’s procedure and use wheel chocks wherever required.